
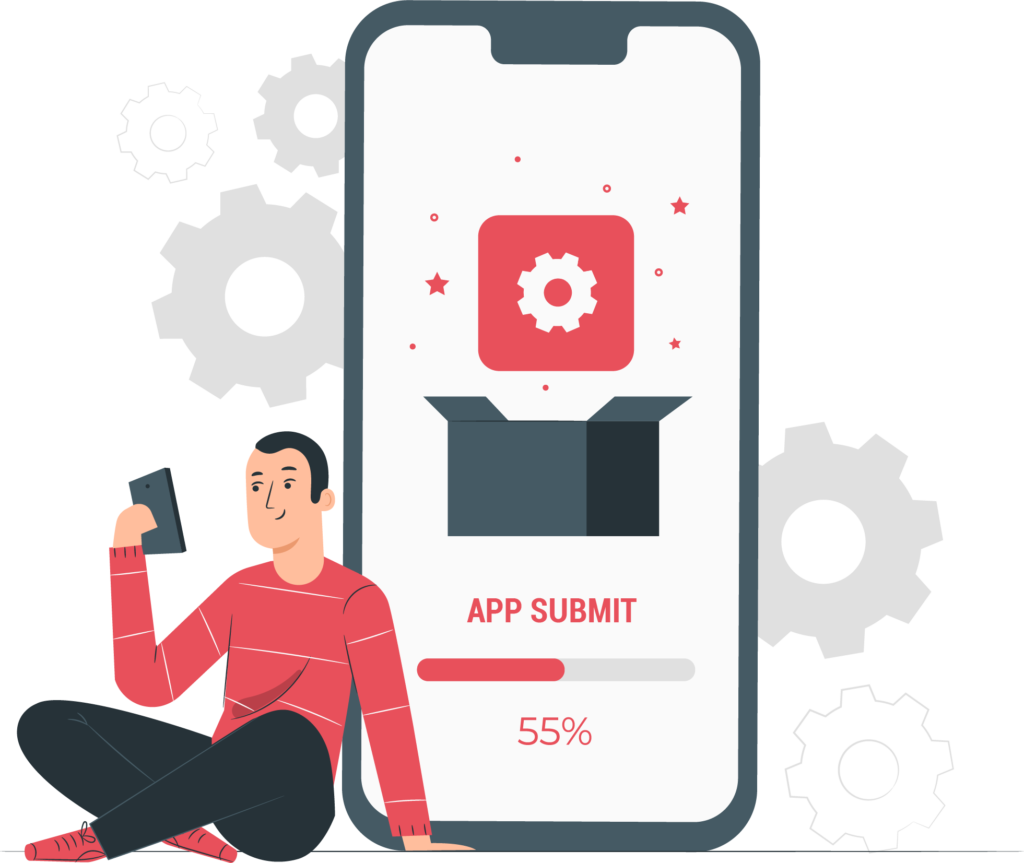
After working tirelessly to develop your iOS app, it is time to submit the iOS app to the app store. Once the development process is complete, applying to the app store is the next step. However, submitting an iOS app can be a daunting task.
To begin with, the developer must comply with the Mac requirements along with having the latest version of macOS. They also require a valid credit card for making the app submission payment. The developer would also require development software such as Xcode which supports Apple. All these pre-requirements make the app submission process a little tedious.
But you shouldn’t worry as we have broken down the process of submission of an iOS App on the Apple App Store in this blog. We have simplified the App Store submission guidelines, steps of configuring the application as well as ways to generate different developer certifications.
How to submit an app to the App Store - Complete guidelines
To successfully submit an iOS app to the Apple App Store, the developer must comply with the following steps:
1. App Store Requirements
Apple Developer Program
One of the foremost requirements to submit the iOS app to the App Store is enrollment to the Apple Developer Program. Without the availability of the Apple Developer Program, it is not possible to submit an app to the App Store.
The Apple Developer program costs around $99 per year but it gives a host of benefits to the developer including:
- Access to submit the apps to the App Store on all platforms of Apple.
- The ability to create the Safari extensions and list them in the extensions gallery.
- Access to Beta versions of the Apple Software launches.
- An in-built testing tool like TestFlight.
- Provides developers with app analytics and some advanced app capabilities.
You need to renew the membership every year, or else the app store would remove the apps developed by a developer.
Other requirements
The developer should keep in mind that the app should keep in line with the guidelines set by Apple Store. Some other requirements that must be complied with by the developer are:
- The developer must have the latest version of macOS.
- Development software programs such as Xcode and Keychain Access.
- A valid credit/debit card for fee payment.
2. Furnishing Information about the App
Submitting the iOS app on the app store would require the developer to furnish all the details related to their app on the app store. These details include app name, app description, screenshots, app icons, etc.
Following details must be furnished by the developer:
- Name of the Application – The name of the iPhone Application must be clear and well thought as it is what your users are going to read.
- Description – This section will contain the functioning and features of the application with details of how it works.
- Screenshots – At least 2-5 screenshots must be included for supported devices as these would inform the users about the application.
- App icon – The App icon is the feature that directly impacts the users. It represents the iOS application. The icon should be in .png or .jpg format with a maximum resolution of 72 DPI in the color space RGB.
- Keywords – The right keywords work wonders for the app as it brings customers directly from the search page. Therefore, multiple keywords must be used and separated with a comma.
- Categories – This would separate the app into one category and help the audience reach the app through the categories.
- App Rating – A questionnaire must be created by the developer for the target audience so that they can rate the app using the same. A good app rating helps the app grow faster.
Other deatils include:
- Marketing URL – This is a marketing URL that leads the app users to the website or any other website. It has been made optional by the App Store.
- Support URL – While a marketing URL is optional, a support URL is a mandatory URL consisting of support information related to the iOS application.
- Privacy Policy URL – This optional URL will contain the Privacy Policy of the application which aligns with the users’ rights.
- Demo Account – The Demo Account must have a username and password so that users can access all features of the app.
- Copyright information: Here the information about any copyrighted product is provided in the format of ‘YYYY Organization/Company Name’.
3. Creating a Bundle Identifier
Once you have provided the required information about the iOS app, your app is ready to be published. The Bundle Identifier is the name of the iOS application that you are submitting to the App Store.
Here are the steps involved in creating the App bundles:
- To start submitting the iOS App to the App Store, you need to navigate to Apple’s Developer Portal and log in using the ID.
- Once you have logged in, you need to click on the Identifiers. After that, click the ‘+’ tab on the top right corner of the system screen.
- Starting the naming process of the App ID. It will be the same as the mobile application that you have created. Here, the developer must ensure that the ID of the Bundle Identifier must have a predefined naming format i.e. com.yourcompanyname.yourappname.
- Once you have named the App Id, the process of submission has started. Tap on ‘continue’ to verify if the services are correct and then click on ‘submit’.
4. iOS application certification process
Before making the iOS app live on the Apple App store, the app must go through the app certification process. This process ensures that the application is following the App Store guidelines laid out by Apple Inc.
Initiating iOS App Certification Signing Request
To initiate the Certificate signing request, the developer must follow the following instructions:
- For initiating the certificate signing request, the developer must have access to the KeyChain Access program.
- Here, you need to click on the Certificate Assistant on the top left menu.
- Next, tap on the Request a Certificate From a Certificate Authority option. Here, you would have to fill out options such as user email and some common names.
- Next, check the Saved to Disk option and then click on ‘Continue’.
- In the end, save the ‘Certificate Signing Request for later’.
Once you have initiated the app certification signing request, the next step is to generate an app store production certificate which helps in linking the iOS app to the Apple Developer’s official account.
Generating an iOS app store production certificate
Follow the below instructions to generate an app store production certificate:
- To start the app store production certificate, the developer must go to Apple’s Developer portal through the browser.
- Here, you have to click on the Certificates option. Next, click the ‘+’ option in the top right corner of the system’s screen.
- Now, click on the App Store Production option and select the App Store and Ad Hoc under the product category. Next, click on ‘Continue’.
- Next, you have to upload the Certificate Signing Request.
Upload the certificate signing request has, the app developers can download their generated certificate. Here, the developers must make sure to install the certificate on the system by double-clicking to keep the newly created file safe.
After the installation of the iOS app certification, the next step is to create a production provision profile necessary for access by the users.
5. Creating a Production Provisioning Profile
Once the certificates are installed, the developer should create a production provisioning profile that comes with iPhone applications. It helps the users in the installation of the app on their devices. To create a production provisioning profile, the developer must follow the given instructions:
- To create a production provisioning profile, the developer must navigate to Apple’s Developer portal.
- Next, log in using the app ID and then click on the Provisioning Profiles option.
- Now, click on the ‘+’ tab on the top right corner of the system’s screen. Once you select the App Store Distribution, click ‘continue’.
- Here, the developer should select the Bundle ID created by them earlier and then click on ‘continue’.
- Now select the certificate generated earlier and then click ‘continue’. Here the profile name should have a standard naming format, i.e. App Name, App Store distribution. Next, click Generate to download it.
- Once it gets downloaded, the developer must double-click to install the provisioning profile on the system.
Once the provisioning profile gets saved on the system, the app listing process can start.
6. Starting the App Store Listing
Once the provisioning profile gets saved, the next step is to reserve a slot in the Apple App Store for your developed app. It is here that the target audience sees the app and takes benefits off of it.
To reserve a spot on the Apple App Store, the following instructions by the developer –
- To start reserving the slot on the App Store, the developer should visit iTunes connect for logging in to the App Store.
- Here, you should click on ‘My Apps’ and then tap on ‘+” in the top left corner of the system.
- Next, click on ‘New iOS App’ and choose the Bundle ID created earlier on the Developer Portal. Here the developer must ensure that the SKU matches the Bundle ID.
- Finally, your first version of the app listing is complete.
Once you complete all these steps, the app will be reserved for listing.
7. Releasing the iOS App on App Store
Your app is steps away from getting published on the App Store. But before that, the app developers must pack the binary that the users will be downloading from the app store. To pack the binary, the developers must begin with Xcode and follow the given instructions here:
- Open the project or the application on the Xcode.
- Here, the app developer must update the version and build numbers. Next, open the Build setting of the app to make sure that all settings are selected.
- Now, scroll down for code signing. Here you have to use the provisioning profile for code signing identity.
- Now, select Generic iOS Device from the top of the menu as the actual build destination. Now click ‘distribute’.
- Next, sign in as the official Apple App developer account to submit the app to the Apple App Store.
- Once the submission is done, the developer will have to wait for confirmation.
8. Furnishing the Version details
Here, the developers must furnish the version details of the iOS application. This information will be viewed by the iOS users and act as a deciding factor for the users whether they want to download the application. The following instruction must be followed by the app developers to furnish the version details:
- Here the app developers must enter all the app information in the respective fields. All the app information explained earlier will be furnished here.
- Next, select the build that the developers think will sync with the version. Here, they can fill in the pricing information as well.
- Once the app details are filled up, click on ‘save’ to save all the details furnished.
9. Submitting the iOS app for review
Review of the iOS app is the most important factor in publishing an iOS app to the App Store. Here, Apple’s official team reviews the app using various metrics.
The app developers must choose the release type between manual or automatic release. Once submitted for review, the app developer will have to wait for approval from Apple’s reviewer team. The review process takes around 2 to 3 weeks after which Apple provides the option for new app submission.
If the iOS app does not get approval, the app developers must review the notes in the Apple Resolution Center section. Identify the mistakes and resolve the points. Once the review has been taken care of, you can resubmit the iOS app again for review.
Now if the app has been selected, the developer must select the Manual release option after which they will get a Release option. The developer should wait for the ‘Ready for Sale’ status of the app and then start the publication part. The process might take up to 24 hours to publish an iOS app to the Apple App Store.
Checklist for Apple App Store Submission
The developers must tick all the boxes on the Apple App Store Submission checklist which contains the following points –
- The iOS app must have all the updated contact information. Add an official email ID of the app developer.
- Don’t submit the beta version of the iOS app to the App Store.
- The app must have all information in the essential fields such as app description, app icon, etc.
- Never ask the users to restart their Apple devices in the user information field.
- The Apple review team tends to reject the apps that create alternate desktop tabs for the users. Therefore, make sure that such a situation never arises.
- The developer should add the option for cryptocurrency transactions only when the app follows all federal laws and laws of the target countries.
- Don’t plagiarize the app code and design. It will lead to the rejection of the iOS app.
- Push notification features are not mandatory for the app to function properly.
- The developers should make sure that the app does not store the users’ passwords or other private details. In that case, Apple will reject your app.
- The developer should make sure that the app is not encouraging any illegal sharing of the files.
- Don’t keep the Real entity names, celebrity names, and brand names as they tend to generate copyright issues.
Publishing an iOS app to the Apple App Store must be taken seriously as slight issues in the app get it rejected. This blog on ‘How to publish an iOS app to the App store’ has provided all the information that helps an iOS app to get published. Keeping in mind all these steps will help the app developer get their application published easily.
How to submit an iOS app to app store - A Complete Guide
We have simplified the App Store submission guidelines, steps of configuring the application as well as ways to generate different developer certifications. But with ON AIR App Builder you can create your own iOS or Android app. Start Now!