Certificates for the Apple App Store
- To publish your app in the Apple App Store, you need an Apple Developer Account.
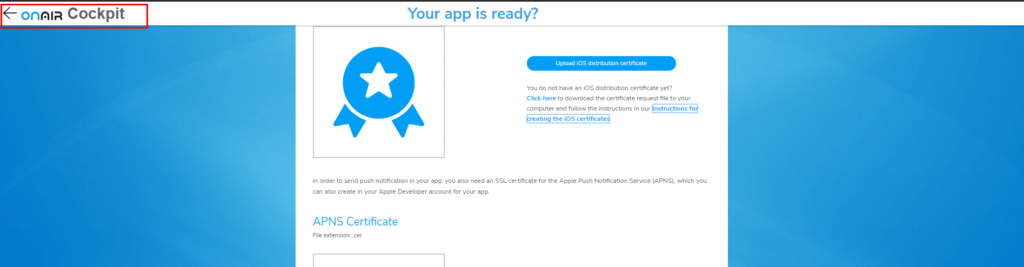
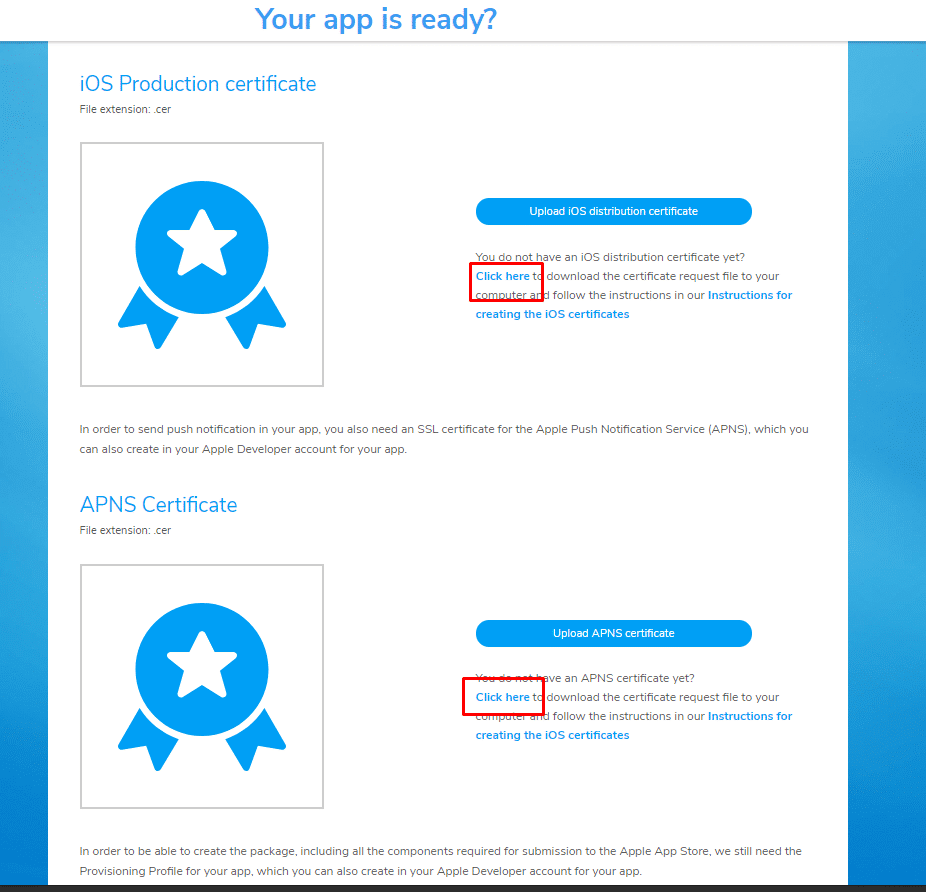
- First you need to select publish App in the App section of our ONAIR App Builder and download the csr and apns_certificate.csr files under Apple Certification .
![ON AIR Appbuilder - Apple Certificates - Step 1](https://onair-appbuilder.com/wp-content/uploads/2019/09/ONAIR-Appbuilder_Blog_Apple-Certificates-ipk-02.png)
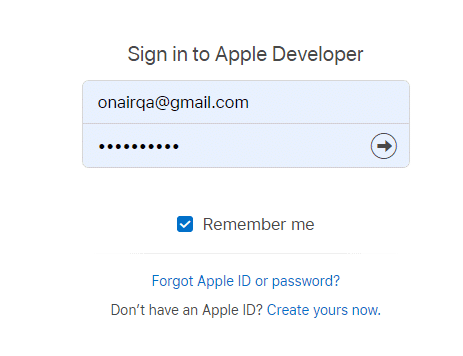
- Now you have to login in your Apple developer account. https://idmsa.apple.com/
![ON AIR Appbuilder - Apple Certificates - Step 2](https://onair-appbuilder.com/wp-content/uploads/2019/09/ONAIR-Appbuilder_Blog_Apple-Certificates-ipk-03.png)
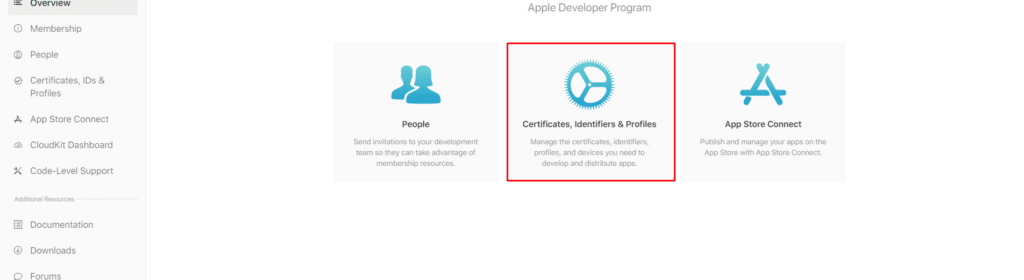
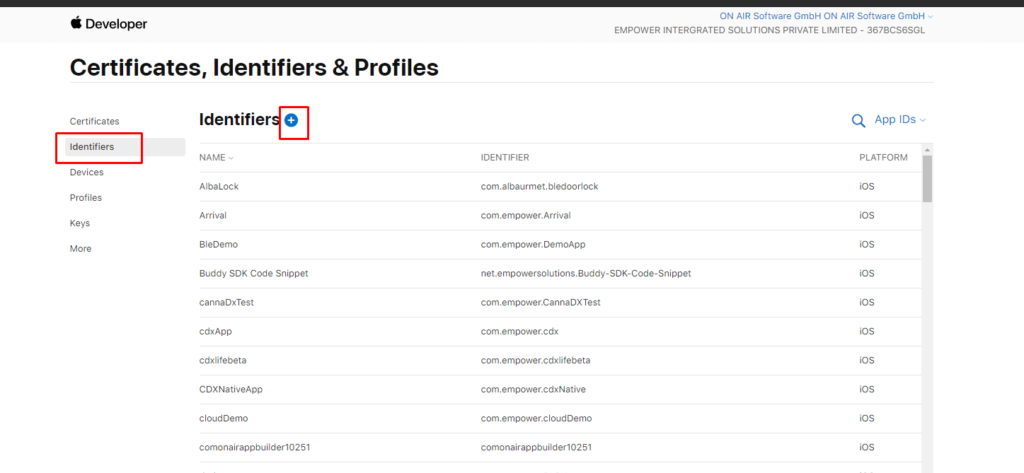
- Select Certificates, Identifiers & Profiles
![ON AIR Appbuilder - Apple Certificates - Step 3](https://onair-appbuilder.com/wp-content/uploads/2019/09/ONAIR-Appbuilder_Blog_Apple-Certificates-ipk-04-1024x280.png)
- Select Identifiers and click on plus icon.
![ON AIR Appbuilder - Apple Certificates - Step 4](https://onair-appbuilder.com/wp-content/uploads/2019/09/ONAIR-Appbuilder_Blog_Apple-Certificates-ipk-05-1024x473.png)
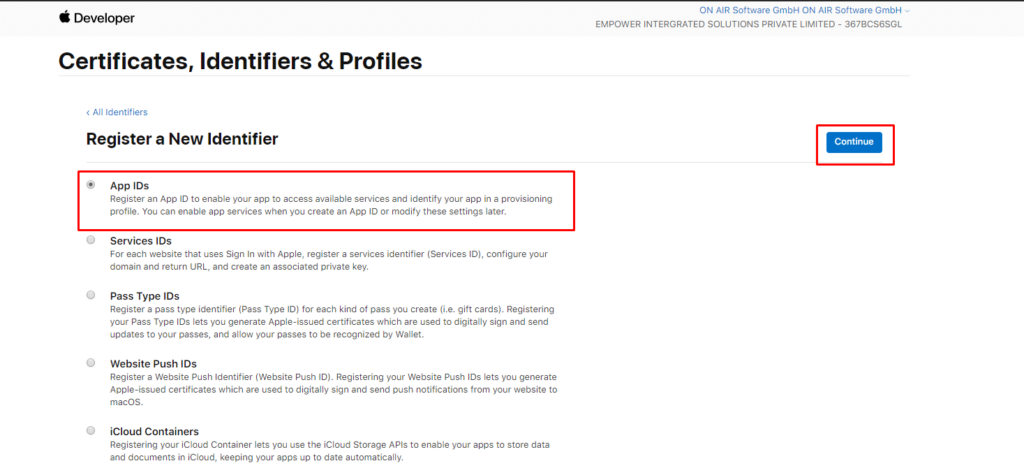
- Select App Ids and click on continue.
![ON AIR Appbuilder - Apple Certificates - Step 5](https://onair-appbuilder.com/wp-content/uploads/2019/09/ONAIR-Appbuilder_Blog_Apple-Certificates-ipk-06-1024x475.png)
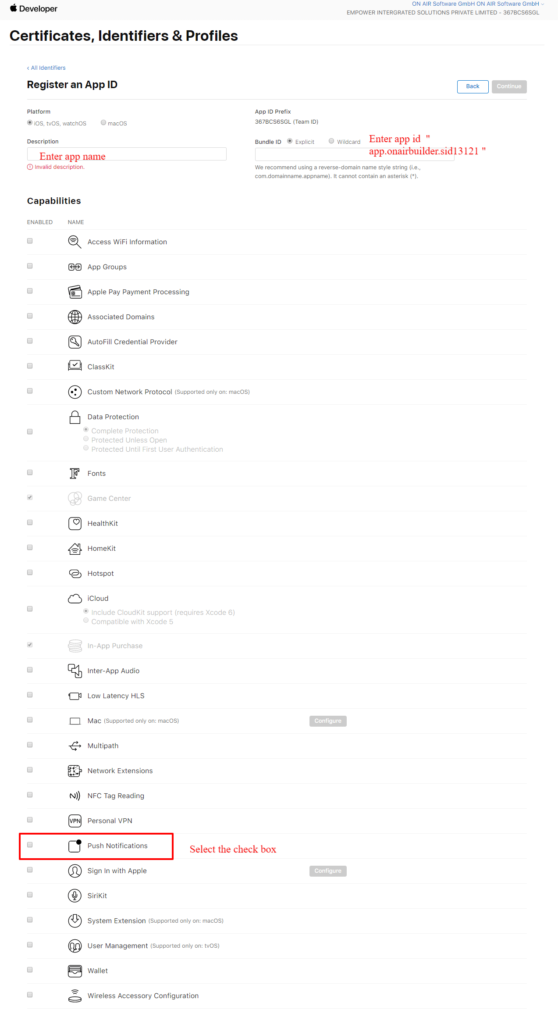
- Platform should be iOS, tvOS, watchOS , Description is app name and Bundle id is App Id. Click on the continue button.
![ON AIR Appbuilder - Apple Certificates - Step 6](https://onair-appbuilder.com/wp-content/uploads/2019/09/ONAIR-Appbuilder_Blog_Apple-Certificates-ipk-07-558x1024.png)
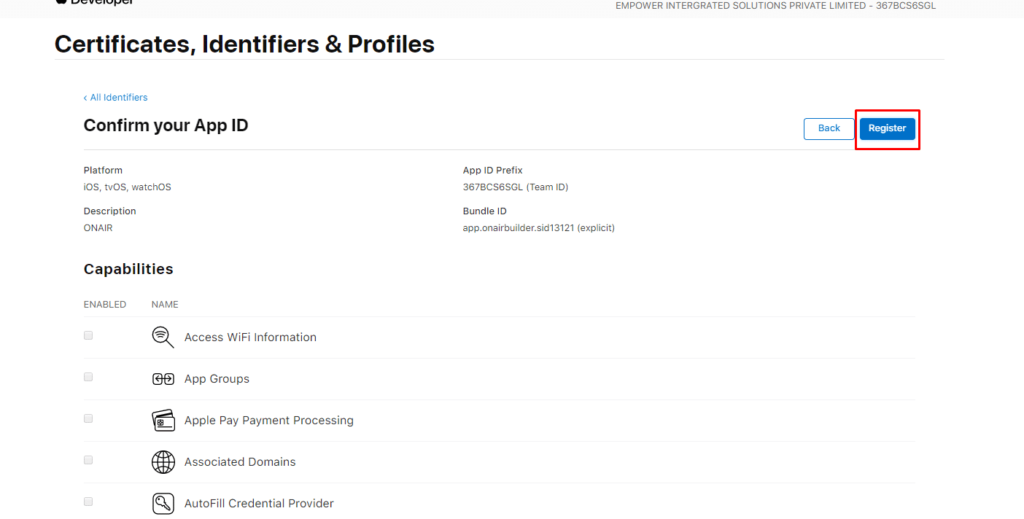
- Click the Register button.
![ON AIR Appbuilder - Apple Certificates - Step 7](https://onair-appbuilder.com/wp-content/uploads/2019/09/ONAIR-Appbuilder_Blog_Apple-Certificates-ipk-08-1024x519.png)
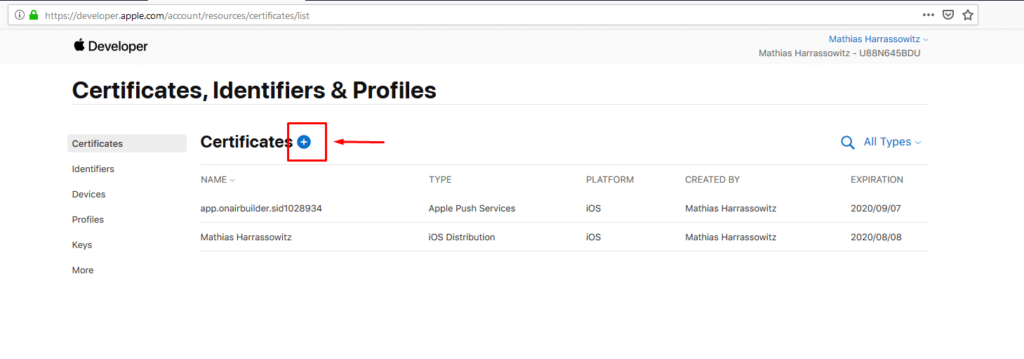
- Now have to create certificate, select the certificate option and Click on the plus icon.
![ON AIR Appbuilder - Apple Certificates - Step 8](https://onair-appbuilder.com/wp-content/uploads/2019/09/ONAIR-Appbuilder_Blog_Apple-Certificates-ipk-09-1024x359.png)
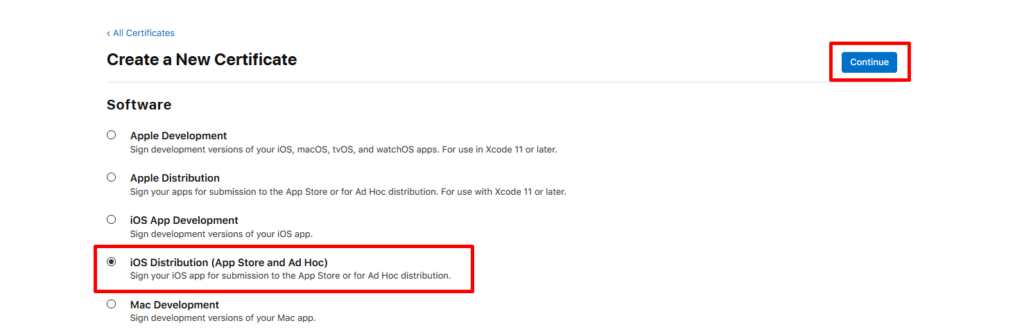
- Select iOS Distribution (App Store and Ad Hoc) to create distribution.cer.
![ON AIR Appbuilder - Apple Certificates - Step 9](https://onair-appbuilder.com/wp-content/uploads/2019/09/ONAIR-Appbuilder_Blog_Apple-Certificates-ipk-10-1024x332.png)
- Choose the distribution csr file downloaded from ONAIR App Builder.
![ON AIR Appbuilder - Apple Certificates - Step 10](https://onair-appbuilder.com/wp-content/uploads/2019/09/ONAIR-Appbuilder_Blog_Apple-Certificates-ipk-11-1024x282.png)
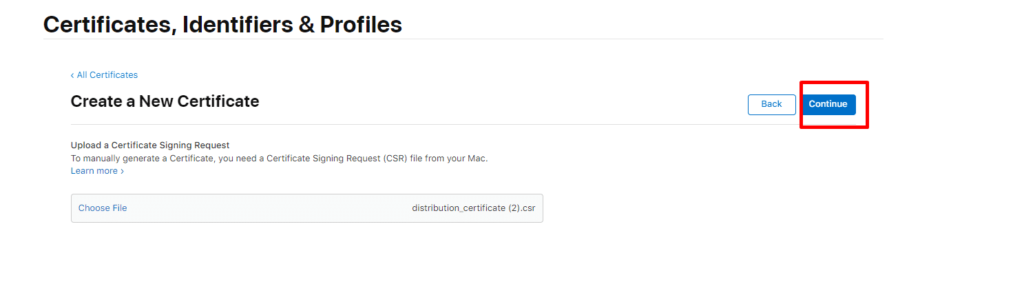
- Click on continue, select the app id and download the certificate.
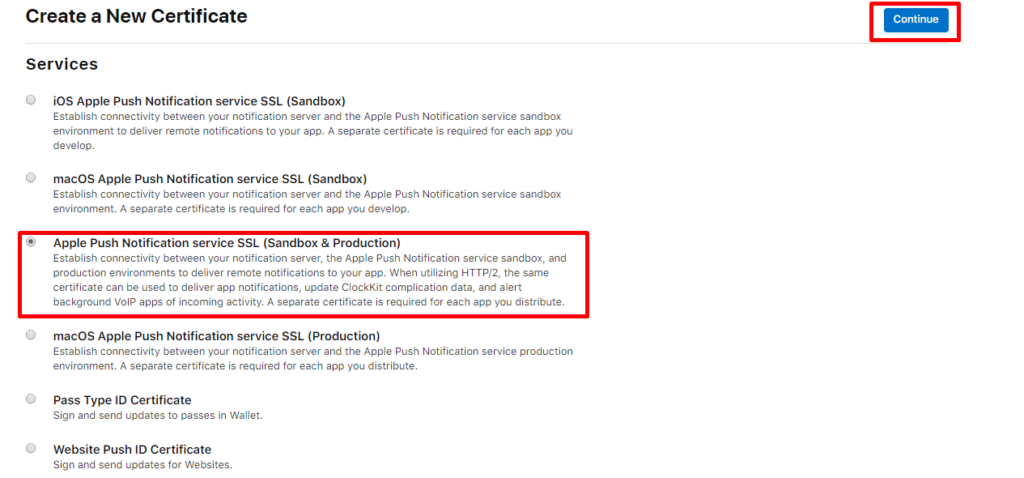
- Now need to create aps.cer. For that again click on certificate. Select Apple Push Notification service SSL (Sandbox & Production) and click the continue button.
![ON AIR Appbuilder - Apple Certificates - Step 11](https://onair-appbuilder.com/wp-content/uploads/2019/09/ONAIR-Appbuilder_Blog_Apple-Certificates-ipk-12-1024x478.png)
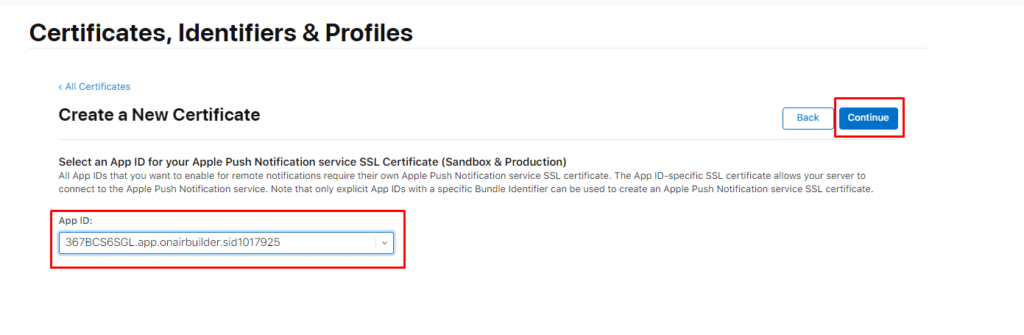
Select the APP id and click on the continue button
![ON AIR Appbuilder - Apple Certificates - Step 12](https://onair-appbuilder.com/wp-content/uploads/2019/09/ONAIR-Appbuilder_Blog_Apple-Certificates-ipk-13-1024x335.png)
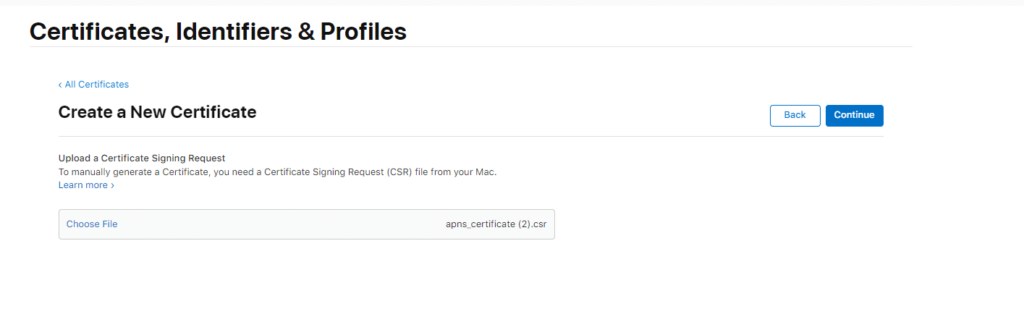
- Choose the apns certificate downloaded from ONAIR App Builder. Click on the continue button and download the cer.
![ON AIR Appbuilder - Apple Certificates - Step 13](https://onair-appbuilder.com/wp-content/uploads/2019/09/ONAIR-Appbuilder_Blog_Apple-Certificates-ipk-14-1024x335.png)
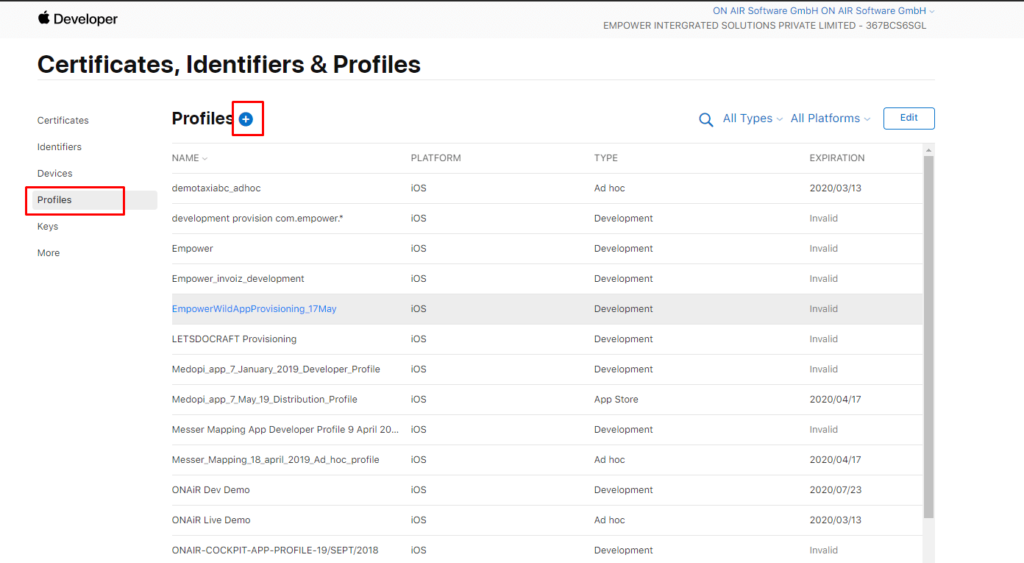
- Now have to create profile. Select profile and click on Plus icon.
![ON AIR Appbuilder - Apple Certificates - Step 14](https://onair-appbuilder.com/wp-content/uploads/2019/09/ONAIR-Appbuilder_Blog_Apple-Certificates-ipk-15-1024x563.png)
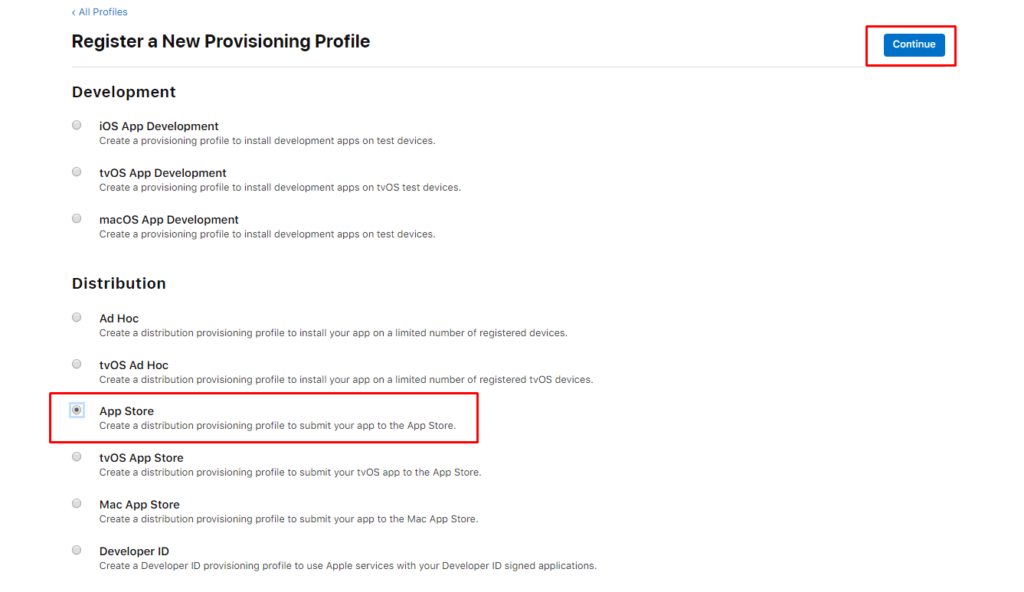
- Select App store and click on the continue button.
![ON AIR Appbuilder - Apple Certificates - Step 15](https://onair-appbuilder.com/wp-content/uploads/2019/09/ONAIR-Appbuilder_Blog_Apple-Certificates-ipk-16-1024x592.png)
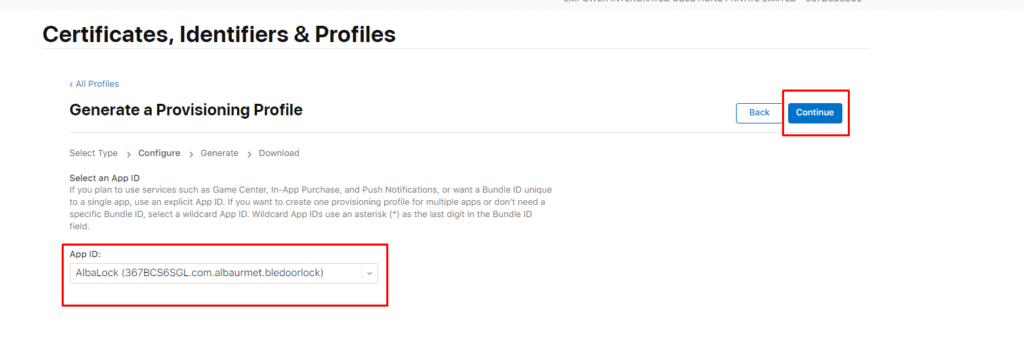
- Select the App ID and click on the continue button.
![ON AIR Appbuilder - Apple Certificates - Step 16](https://onair-appbuilder.com/wp-content/uploads/2019/09/ONAIR-Appbuilder_Blog_Apple-Certificates-ipk-17-1024x348.png)
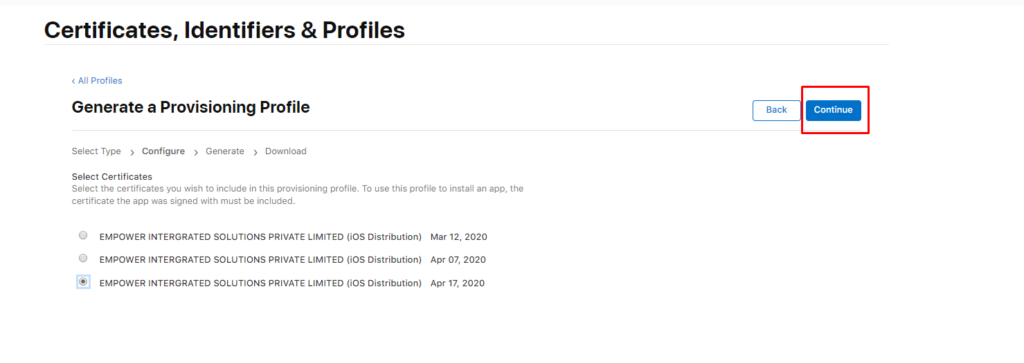
- Select the latest certificate and click on continue.
![ON AIR Appbuilder - Apple Certificates - Step 17](https://onair-appbuilder.com/wp-content/uploads/2019/09/ONAIR-Appbuilder_Blog_Apple-Certificates-ipk-18-1024x363.png)
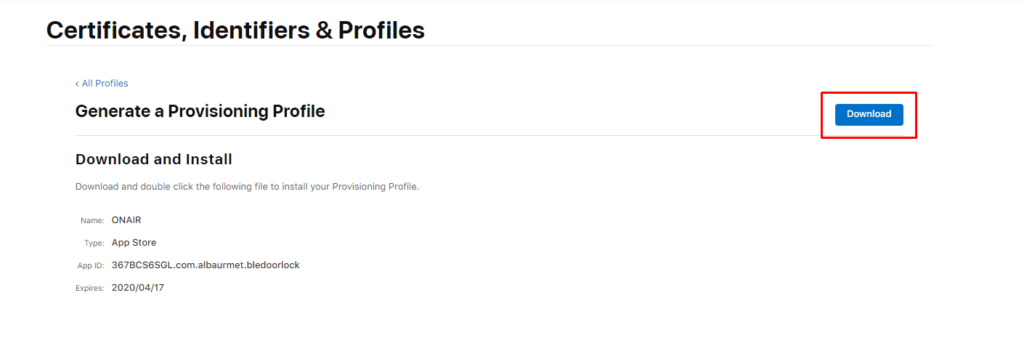
- Enter the app name in Provisioning Profile Name. It could be anything else and click on the Generate button.
- Now you can download the provision profile.
![ON AIR Appbuilder - Apple Certificates - Step 18](https://onair-appbuilder.com/wp-content/uploads/2019/09/ONAIR-Appbuilder_Blog_Apple-Certificates-ipk-19-1024x338.png)
- Now Go to ONAIR App Builder account. And click App Publish.
![ON AIR Appbuilder - Apple Certificates - Step 19](https://onair-appbuilder.com/wp-content/uploads/2019/09/ONAIR-Appbuilder_Blog_Apple-Certificates-ipk-20-1024x483.png)
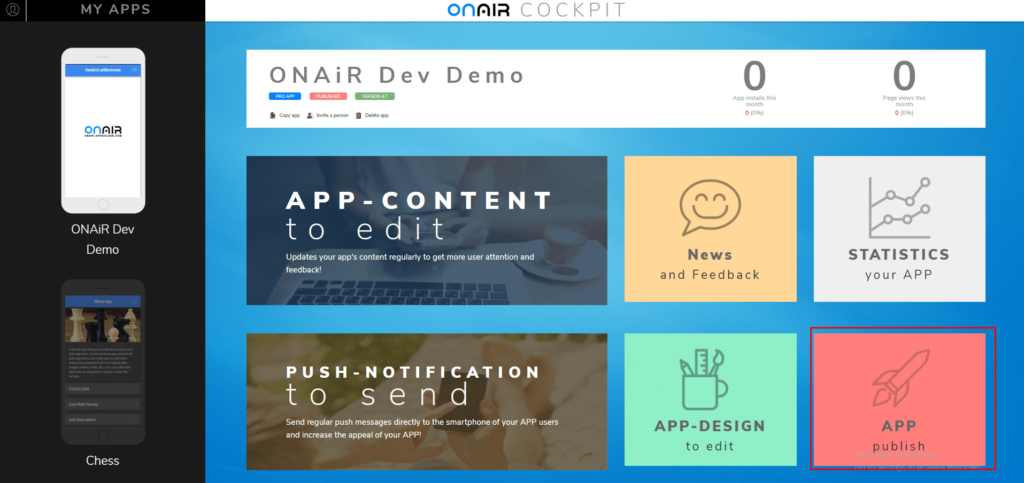
- Click to edit button and Upload IOS distribution certificate, APNS certificate and provisioning profile.
- Click the back button and click on publish now.
![ON AIR Appbuilder - Apple Certificates - Step 20](https://onair-appbuilder.com/wp-content/uploads/2019/09/ONAIR-Appbuilder_Blog_Apple-Certificates-ipk-21-1024x267.png)